Adding MicroView Surveys
How to Add MicroView Surveys in Web Central
Adding MicroView Surveys
Step 1: Add/Edit Survey Types
Table: sv_survey_type
Navigate to: Web Central, Applications, MicroView, Inspections and Surveys, Room Survey Types
- Select a template survey (for example, Fire Extinguishers already have a template) and update the survey start date and frequency or click “Add” to create a new type.
- Information to Add/Update:
- Survey Type Code: 20 characters, must be unique (FIREEXT)
- Type Description: Describe the survey (Fire Extinguishers)
- Interval Type: Select from the dropdown the frequency interval type (Monthly 1st)
- This feature was added in 2022 to MicroView Tablet Online
- Options are:

-
-
- The survey can only be completed once during this cycle and will then remain green (no issues found) or red (issues found) until the survey refreshes back to yellow (survey to be completed) at the end of the cycle.
- Survey Frequency: This is the number of intervals before the survey refreshes. This is only used if you select an interval that mentions ‘start date and freq.’
- Survey Start Date: This is the start of the first cycle. This is only used if you select an interval that mentions ‘start date and freq.’
- For example, if you want a monthly survey that always comes out on the 7th you should have your interval set to “Monthly (Start Date and Freq.)” and your Survey Start Date on the 7th of the month.
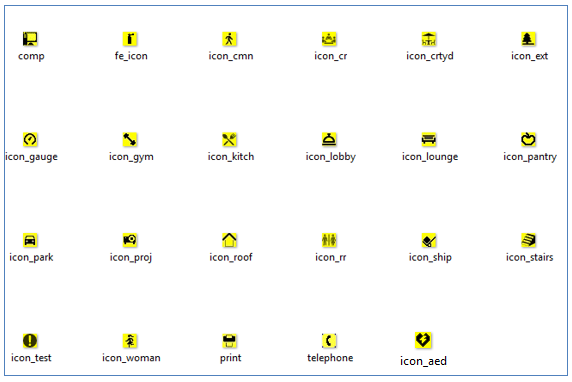
- Graphic Icon: this is the icon name that you wish to use to represent your survey on the floorplan. RSC can create additional icons if you require.
-
Step 2: Add Survey Type to Existing Equipment Standard
If you are creating a survey for an already existing piece of equipment, you just need to add the survey type code to the existing equipment standard. If you are creating surveys for an area or equipment that does not already exist in ARCHIBUS then you need to first create a new equipment standard.
Table: eqstd
Navigate to: Web Central, Applications, MicroView, Inspections and Surveys, Equipment Standard Survey Types
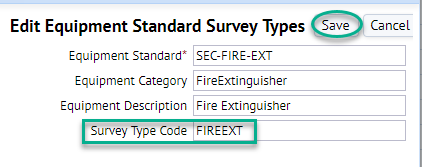
- Find your equipment standard from the list and select “Edit”
- Add the survey type code and select “Save”
Step 3: Add group
Survey Forms can be grouped together if the same users should see the same groups. Otherwise, each survey should have its own group.
Table: user_group
Navigate to Web Central, Applications, MicroView, Setup and Utilities, Groups
- In the top right click “Add New” to create a new group. Click “Save”.
Step 4: Add Survey Forms/Questions
Navigate to: Web Central, Applications, MicroView, Inspections and Surveys, Survey Forms and Questions
- In the top panel click the “Add New” button to add a new survey form.
- Add the Survey Form Information
- Required: Form Title, Form Group, Survey Type Code, Auto-import records = yes
- Recommended: Show Bldg, floor, room; Show Equipment code
- Optional: All other fields are options, just note that if you do not have that data loaded for the equipment it will not show.

- Add Survey Questions: in the bottom panel click “Add New” for each new question.
-
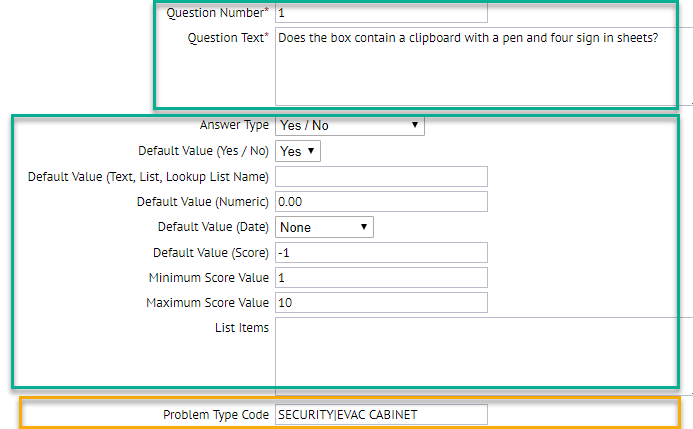
- Add the question number and question text
- Select the answer type, and then give more information based on the answer type you selected.
- For example: yes/no answers, you are required to select a default value (yes or no)
- Add a problem type code if you wish to create a work request if a question fails (recommended)
- The rest of the options can be ignored as they are not normally relevant.
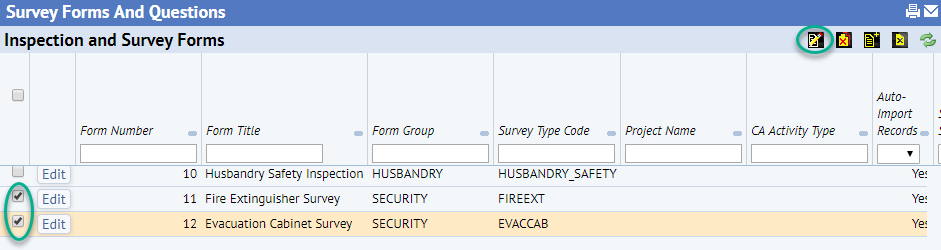
- Publish Survey
- Select the check boxes next to the surveys to be published and click the “Publish” button. When the form is done publishing a popup will appear with any errors. Do not be too concerned about any error messages.
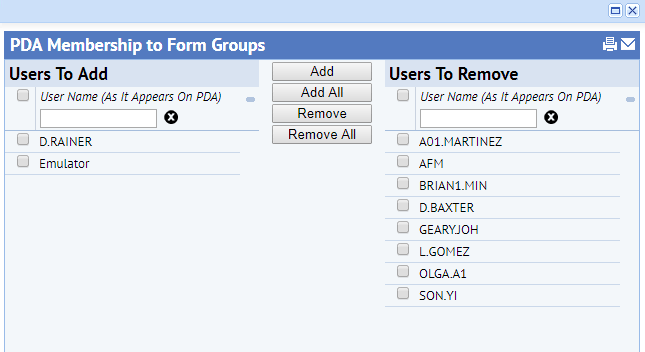
Step 5: Add users to group
This determines who can see the survey when they log into MicroView.
Navigate to Web Central, Applications, MicroView, Setup and Utilities, Group Members
- Select the Form Group that you wish to update the members for and click “Show”.
- Add and remove users from the group. Please note that only active MicroView users will show on this list.
Step 6: Add Surveys to Floorplans
If the equipment standard you selected already has equipment attached to it then the icons will automatically appear in MicroView. If the equipment does not yet exist or you are surveying a location then you will need to add the survey to the floorplan in MicroView.
- Navigate to MicroView and click on the Room Survey Tab.
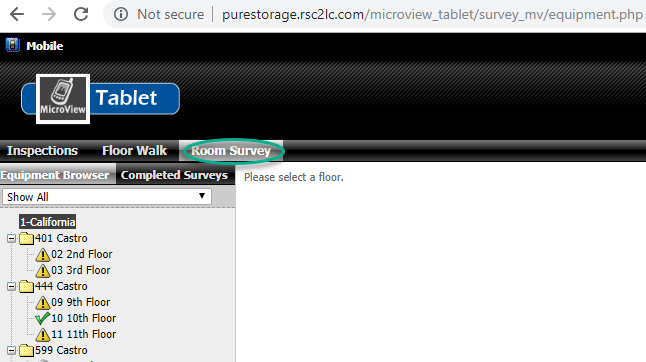
- On the left panel you will see all your floorplans that are set to display in MicroView. Any floorplan with grey crossed out circle symbol next to it does not have a survey on it. Click on the floor you wish to add a survey to.

- Above the floorplan click “Add New”. This will bring up a popup for you to select a survey.
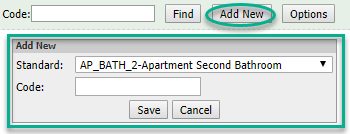
- In survey standard all of the surveys you have loaded are available in the dropdown. Select the survey standard that you wish to add to the floorplan. If you wish to add a new survey with new questions to this list, please contact RSC.

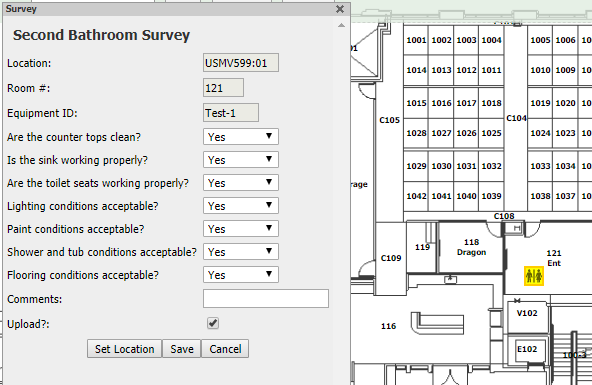
- Once you have selected a survey, please enter a unique code for your survey. It is best if this code is significant, so you can follow the standard below, but the code will work as long as it is unique.
- Once you have added the survey information, click Save and then click on the floorplan to add the icon to its location. If you click on the icon you can review the survey and questions.
Was this helpful?
0 / 0